Oy, it took me longer to get to this post than I meant to. Ok, so when I left off in Volcano: Pt. 1 the volcano looked like this:

So the next day I took acrylic paint,


I then used the black and red paint to paint the layers on the inside of the volcano:


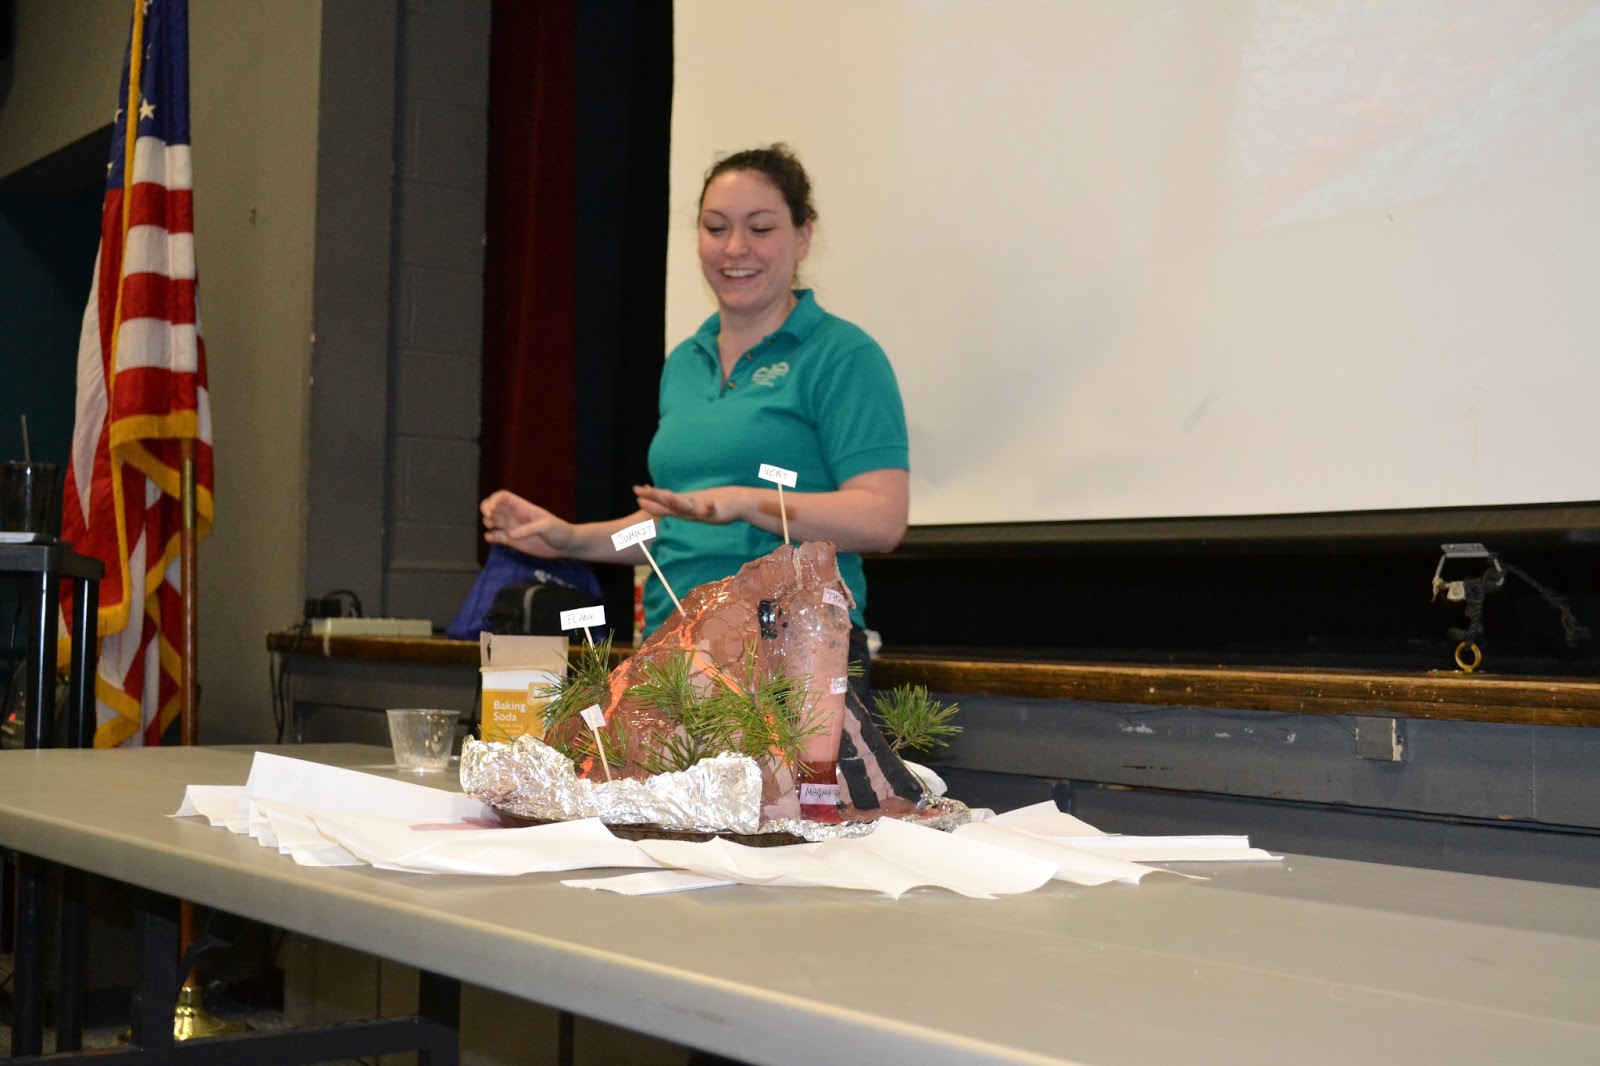
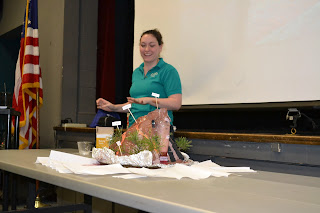
To make the lava I did vinegar diluted in water with red food coloring. Then I used baking soda to make it erupt, which the kids LOVED. I ended up making it erupt around 5 times. Just as a note.. this is extremely messy, you've been warned. So now some pictures of the eruption (please ignore the unflattering pictures of me)..

 It was an extremely popular program, I think this might be one we repeat in a couple years.

So the next day I took acrylic paint,
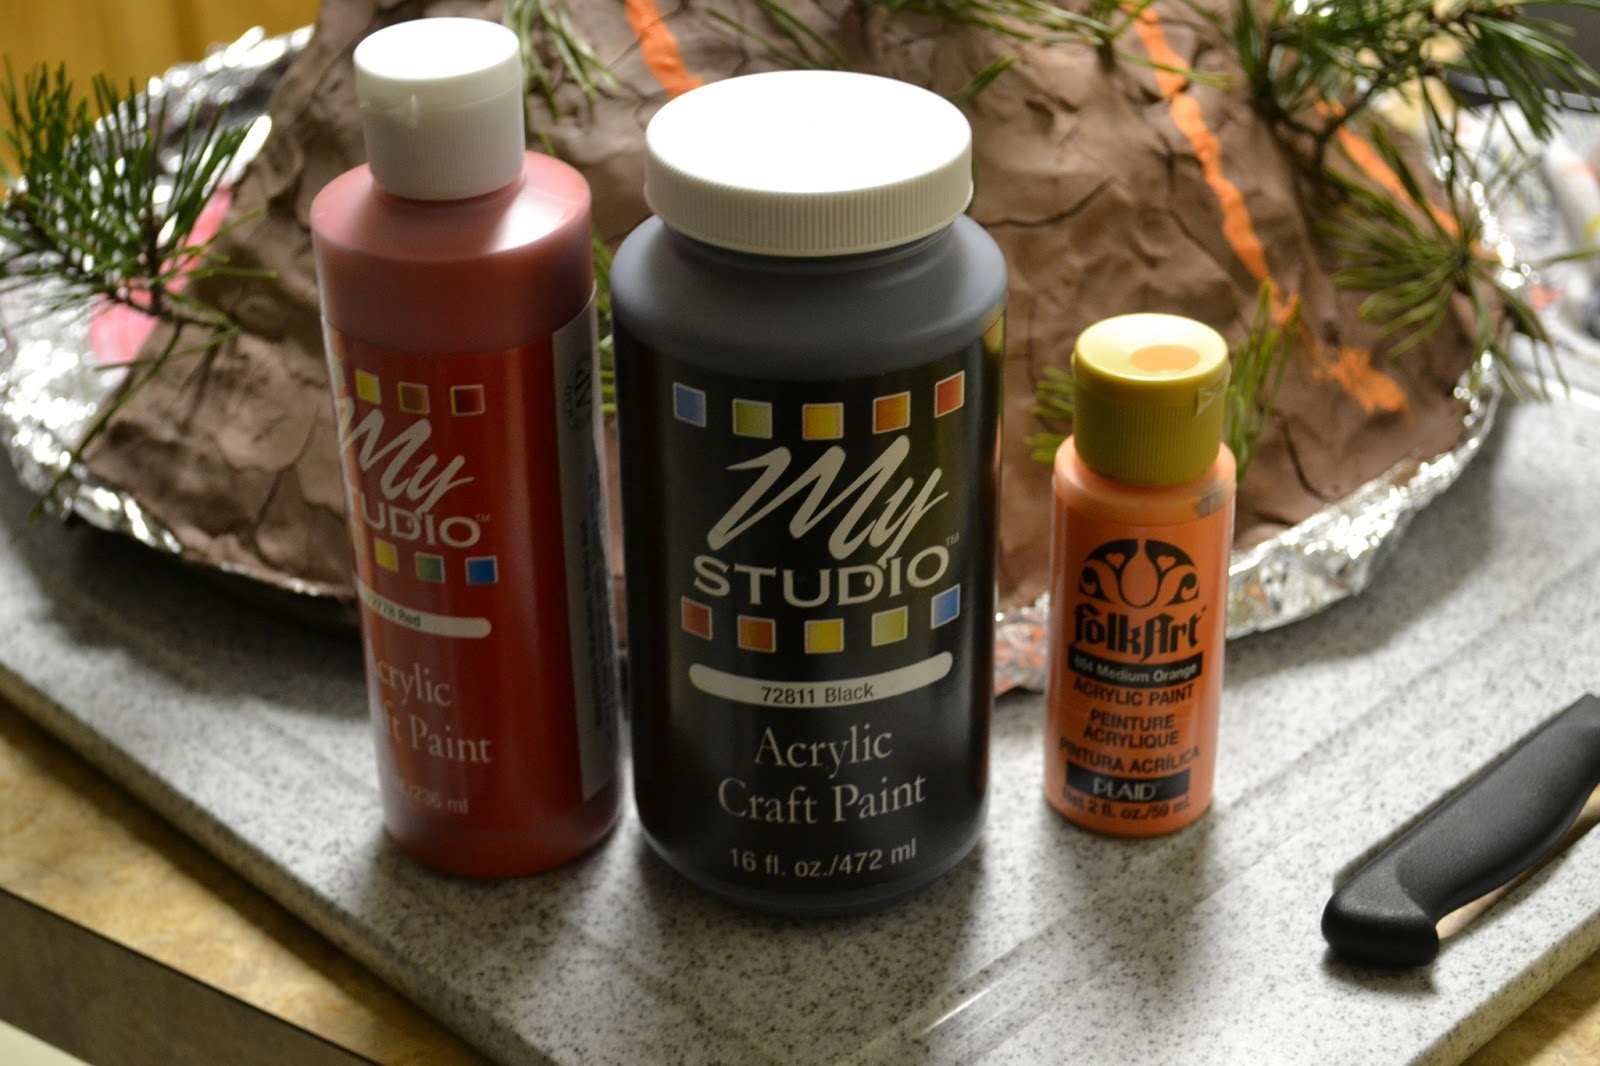
Now, one of the reasons I took the paint and decorated the volcano is that the clay cracked. If you don't want a cracked volcano, do not use this method- I would do paper mache- but I liked how it looked, so no biggie. So I used the orange acrylic to add trails of lava, and cover up some of the worst cracks.


Then I wrote out the labels for the layers, glued them to sticks if I needed to, if not, I glued them directly to the volcano.